Remove furniture, wall art, and rugs from the room
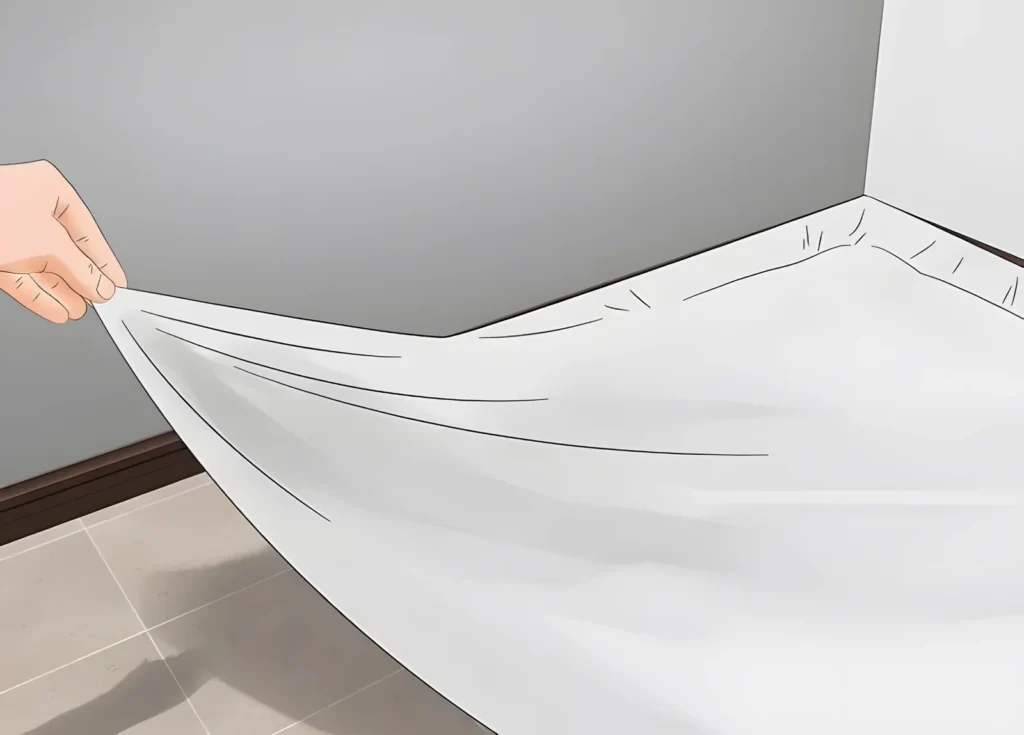
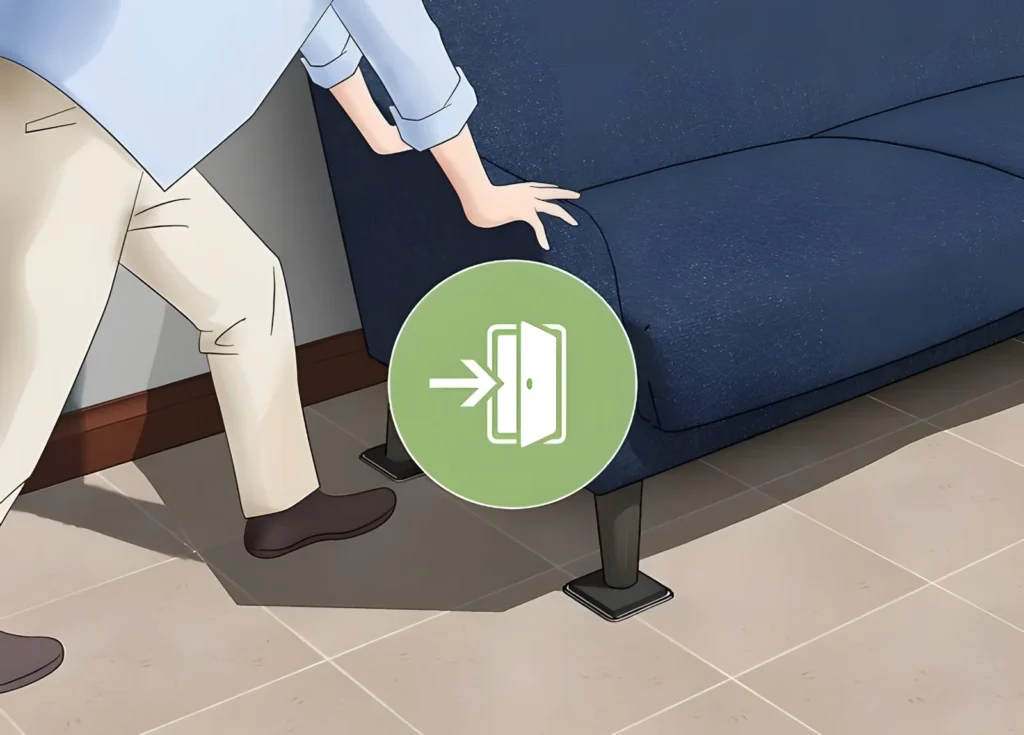
Before you start painting, empty the room of as many furnishings as possible. Take everything off of the walls, move lightweight furniture to another room, and roll up rugs and store them elsewhere. If there’s anything that has to stay in the room, like a big, heavy piece of furniture, push it to the center of the room.
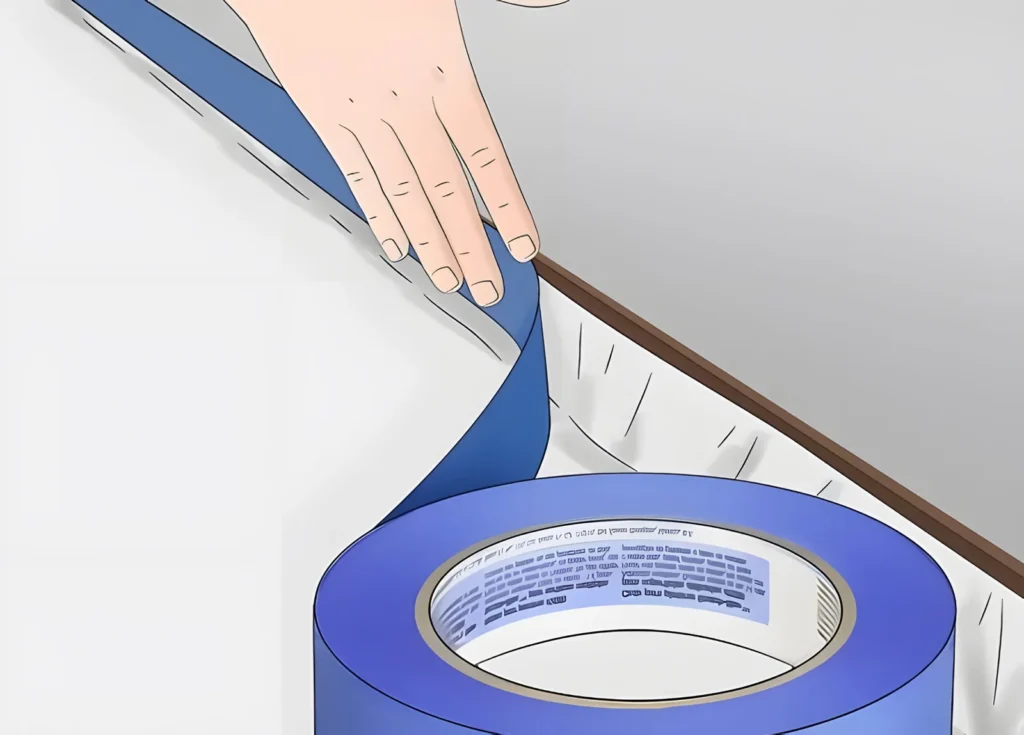
– Remember to remove outlet covers and light switch covers so you don’t accidentally paint them! You’ll probably need a Phillips-head screwdriver for that.